Quick start guide
Hardware requirements
- Silica Liberty Board kit
- One TTL-USB adapter (for communication dump)
- Renesas E1 on-chip debugger
- PC with terminal software (such as HyperTerminal)
Board features
Liberty has a RGB led that monitor main BLE state (red circled in figure below)
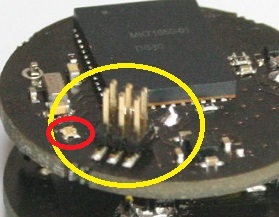
Note
see hardware documentation for Liberty header pinout and how to connect for debug and serial dump
Software requirements
- e2studio Version 2.2.0.13 and KPIT GNURL78 Version 13.02-ELF-MP1 compiler
- Liberty_BLE_v1 firmware
- PC terminal emulator (such as HyperTerminal)
- Liberty Software Application for PC or SmartPhone (to connect with Liberty board)
Note
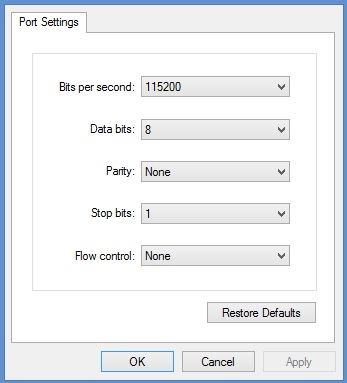
Communication dump
If you like to use serial dump to monitor communication between CPU and ML7105, connect a TLL-USB converter as described in Board features note. You can use a terminal software on your PC to see this dump. Here settings required for HyperTerminal COMx parameter:
Hardware setup
Plug the Battery into socket adapter (see figure below)
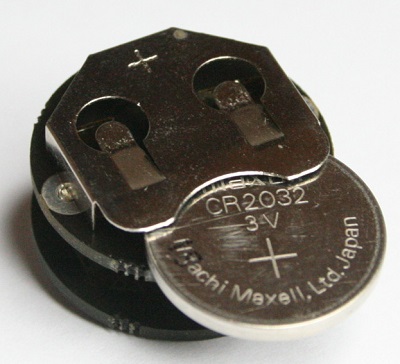
Red led will ON to indicate initial settings (if connected, you can see the commnication dump on PC HyperTerminal)
After initialization, the green led will flash every 2 second to indicate that Liberty is in active state waiting connection.
Try to connect an pair with Liberty Software Application, the green led will lamp (half second period), and after the green ON means “device paired” Use Liberty Application (PC or Smartphone) Software to perfom basic functions with Liberty board.
For debugging purpose, you can use Renesas E1 on-chip debugger. You must have a cable adapter to connect emulator pod with Liberty board (see hardware documentation)
Liberty Board FW installation & setup
Tip
Install first E2studio develepoment suite, then proceed with firmware setup
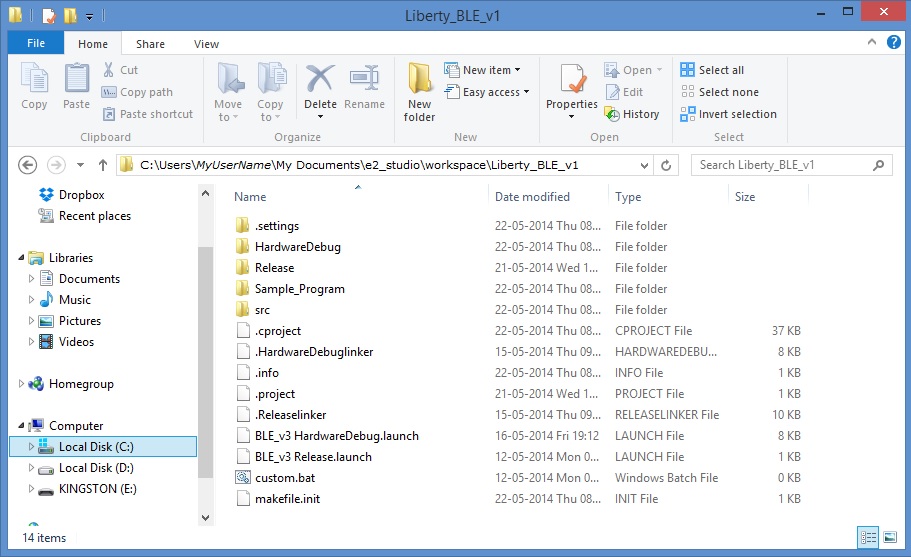
- Inside E2studio workspace folder (C:\Users\ MyUserName \My Documents\e2_studio\workspace) create new folder named Liberty_BLE_v1
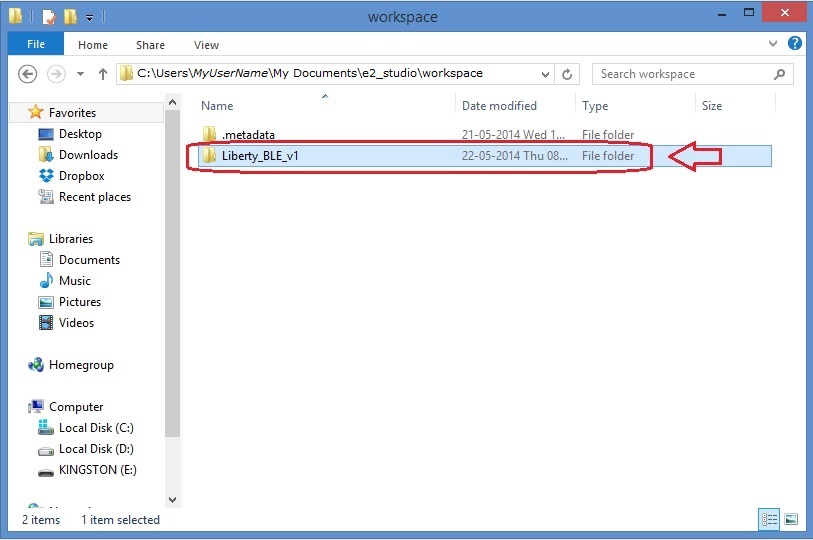
- Unzip all files from Liberty.zip into the folder C:\Users\ MyUserName \My Documents\e2_studio\workspace\Liberty_BLE_v1 just created
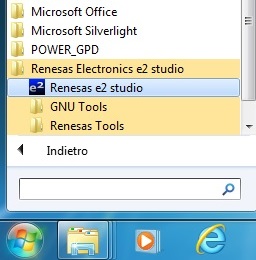
- Go to Start –> Renesas Electronics e2 studio –> Renesas e2 studio –> Eclipse and click on to start E2studio suite
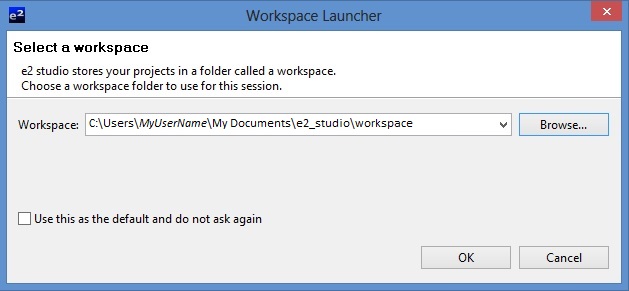
- Check if workspace setting is like figure below. Then click OK to proceed.
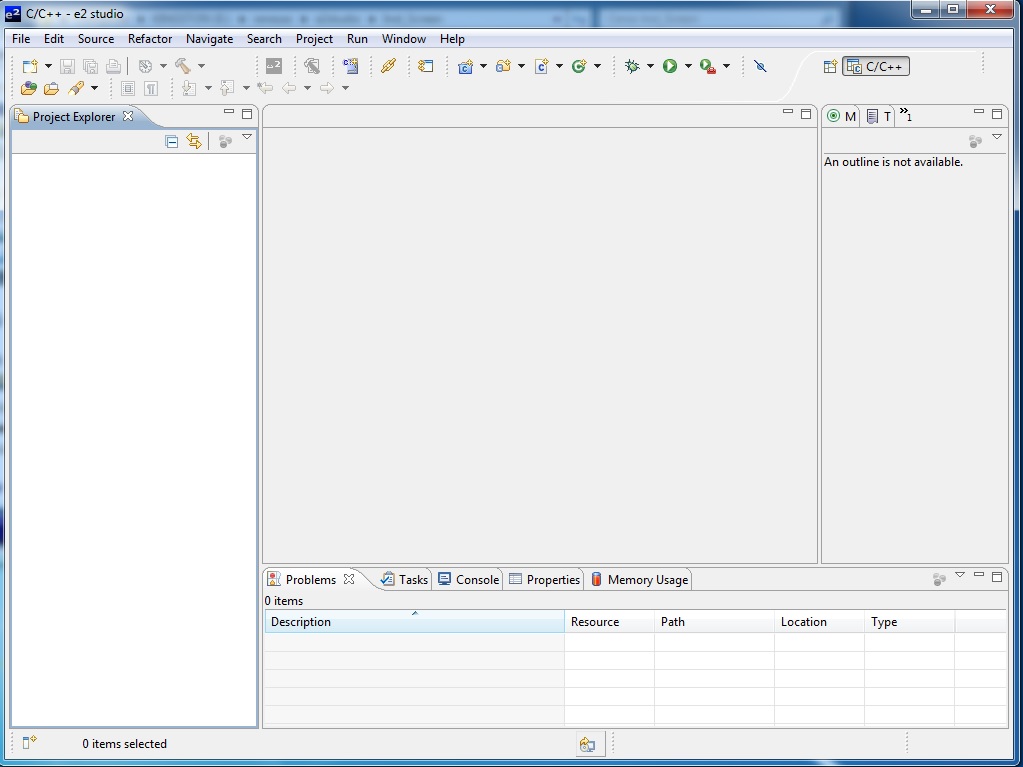
- Now you can see the Eclipse Main Window
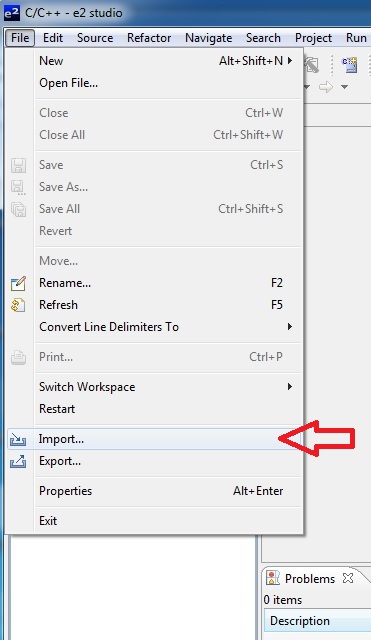
- Select menu File –> Import
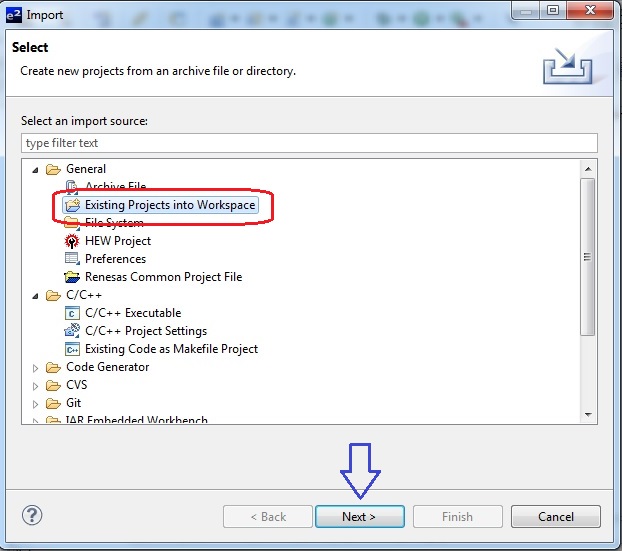
- In the dialog box that will open, click on General, select Existing Projects Into Workspace and after click “Next” button: new dialog will open.
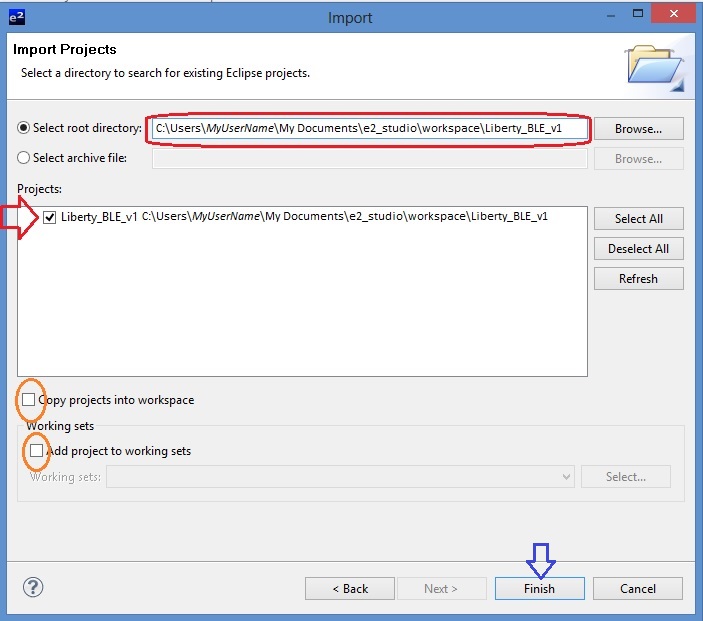
- Click on “Browse...” button an navigate to C:\Users\ MyUserName \My Documents\e2_studio\workspace\Liberty_BLE_v1 folder. Click on “OK” button

- Check options and setting as the image below, then click “Finish” button to import project.
- Wait for project import, then you can see Liberty_BLE_v1 project in the Project Explorer windows of E2studio Platform.
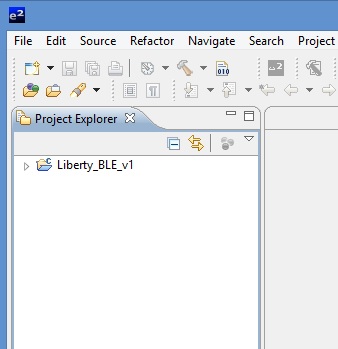
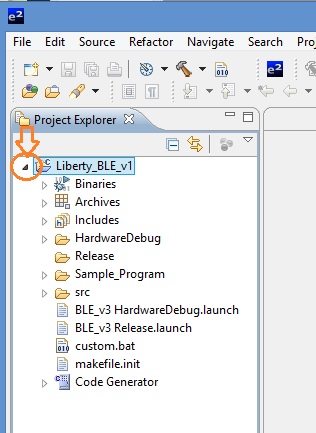
- First of all, open project tree by clicking on the arrow located at left of project name (orange circled).
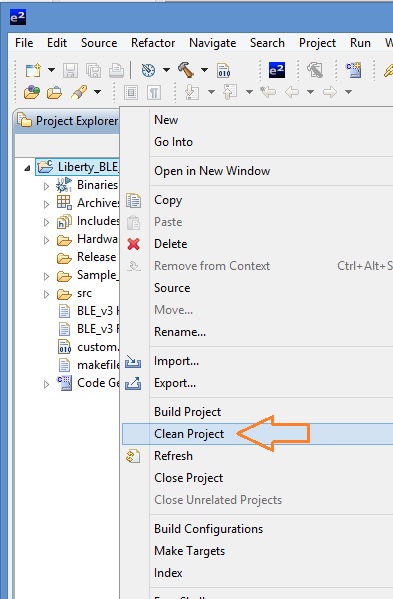
- Now, right click over “Liberty_BLE_v1” in the Project Exporer window to point out it, then select “Clean Project”.
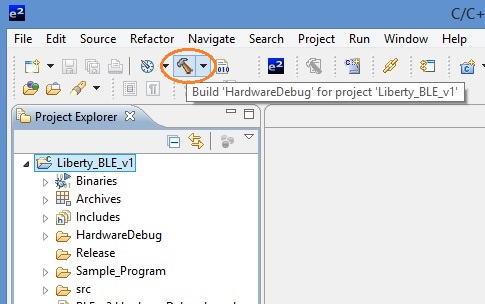
- When clean has been made, point mouse over hammer icon on the toolbar and click it (see image below). Hardware debug build will start.
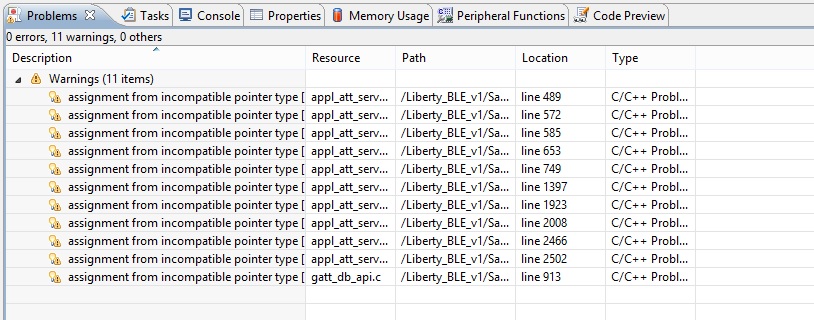
Note
Don’t care if you have this warning in the Problems tab (see image above)
Now you are ready to work with Liberty_BLE_v1 project